3 Ingredient Peanut Butter Cookies

We heard a recipe for 3 ingredient peanut butter cookies on a podcast that we love. I was skeptical that the cookies would be good but Husband wanted me to give them a try anyway, so I did.

The recipe calls for:

1 cup peanut butter

1 cup sugar

1 egg

Mix together. I used my KitchenAid to mix the batter, but mixing by hand would be easy too.

Roll spoonfuls of batter into balls. I skipped this step and just used spoonful lumps. Worked just as well. Rolling into balls will make your cookies look more uniform.

Take a fork dipped in sugar and create hash marks across the top of the cookie. This is not a necessary step, but since the cookies do not spread or rise, you will need to flatten the cookie to some degree before baking. And since the cookie doesn’t spread, however big your cookies are when you put them into the oven, that is how big they will be when they come out the oven.

Bake at 350 for 12-15 minutes. I baked the first batch at 15 and the second at 12.

The recipe will yield between 12 & 24 cookies depending on the size of your balls. (I just giggled like a school girl. Hehe)

Let cool.

First thing I want to say is that this is probably the easiest recipe I have ever tried. If there are even easier recipes, I would love to hear them.

Second, this is not a “normal” peanut butter cookie. Without the rest of the ingredients in a regular peanut butter cookie, the texture is extra crispy and hard. Not a soft-batch cookie. But without the extra ingredients, the peanut butter flavor is much stronger. Also, I think the cookie is sweeter.

I recommend this recipe if you are short on time and need a fast dessert. I had these mixed, baked and cooled completely in about 50 minutes. More efficient cooks could probably have these ready faster.

If you want to be extra decadent, add chocolates to the cookies when they come right out of the oven. I used Hershey Miniatures, but Hershey Kisses or Dove Chocolates would also work. Whatever you like is what you should use. If you’re not careful when adding the chocolate, you can break the cookie. Even though it is crispy it is still a fragile cookie. I added chocolate to at least two cookies, breaking them in the process, before I realized I needed to be gentle.

Once I again I didn’t take photos of the process. One of these days I will remember. But here is a photo of the end result.

3 Ingredient Peanut Butter Cookies

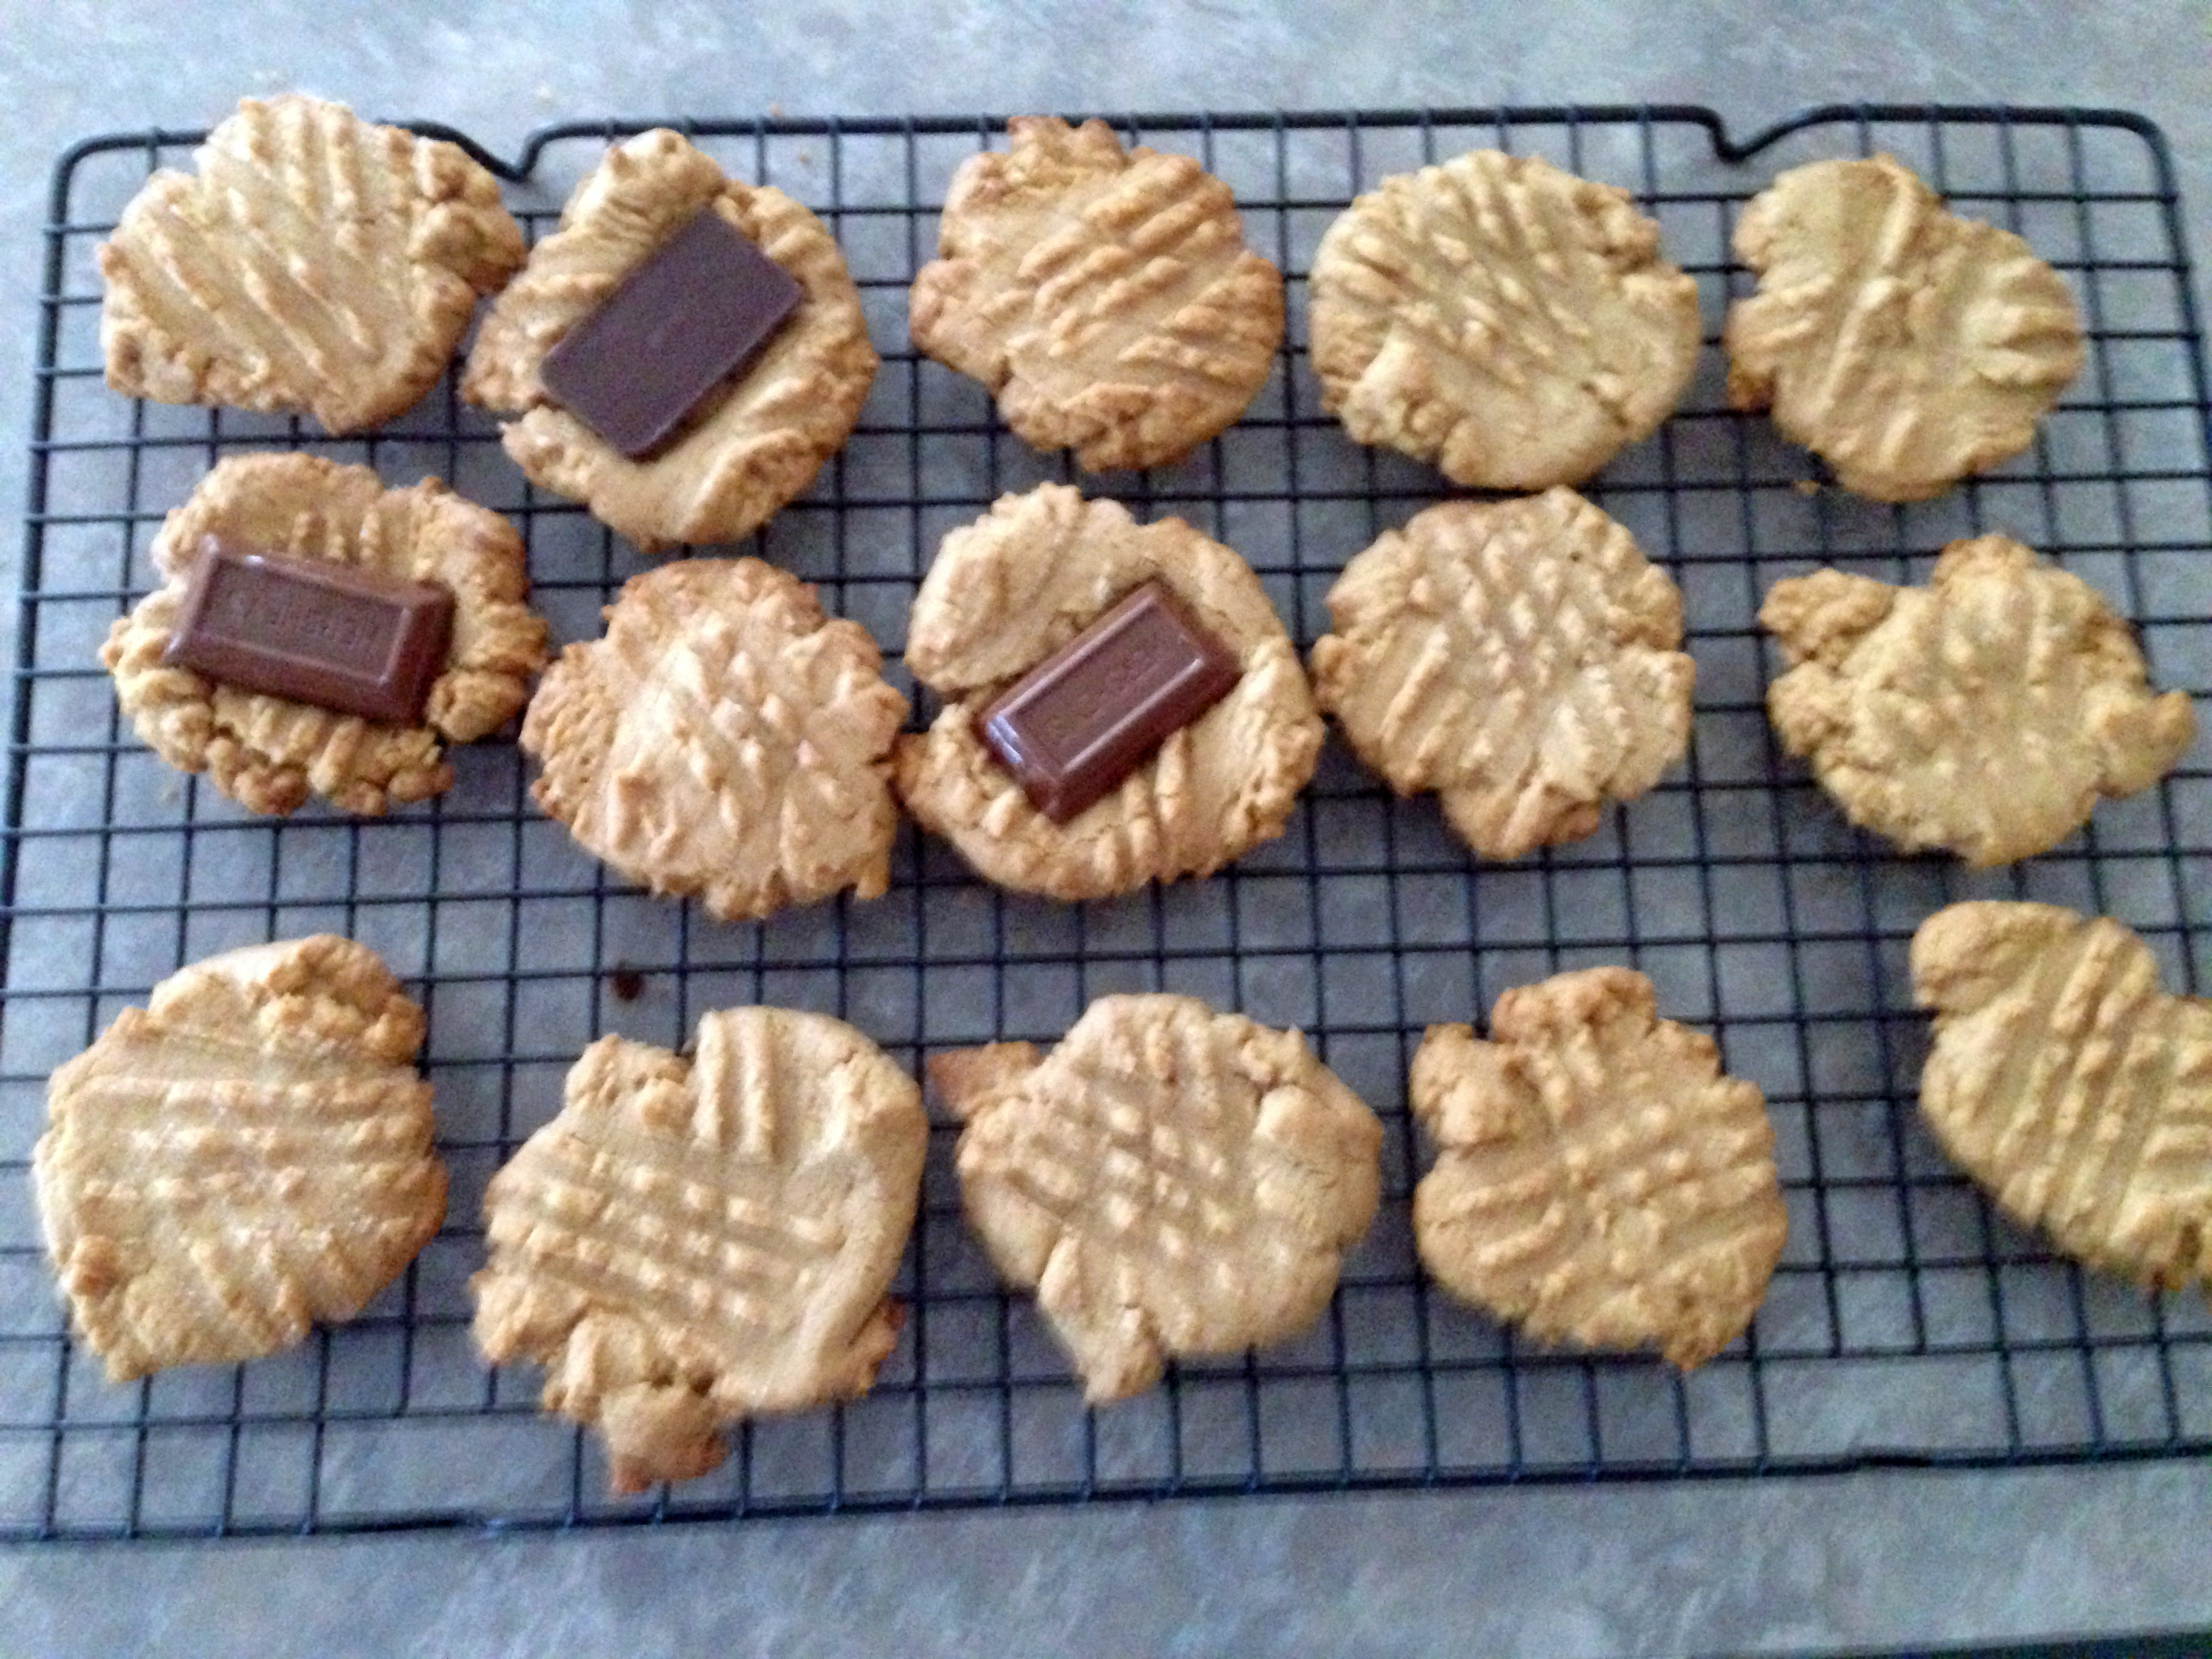
There were more cookies, with more chocolates, but we ate those before I could snap the photo.

Lemon Blueberry Cupcakes

I used my new KitchenAid to really bake for the first time. Not some cake mix, but actually baking from scratch. No one shock in gasp. Oh, okay. Go ahead and gasp.

I went a little out of my comfort zone baking something that embodied two of my least favorite baked goods. First, they were cupcakes. Cupcakes are annoying. So messy and hard to eat. We do not get along that well. Secondly, they were lemon blueberry cupcakes. I LOVE lemons. But I’ve always had a sort of mental block when it came to sweet lemon desserts. Lemon cookies, lemon bars, lemon meringue pie we’re never for me. But Husband seems to really like lemon desserts & I know he loves cupcakes so I was willing to try something new.

I used this recipe:

http://www.foodnetwork.com/recipes/ree-drummond/missys-lemon-and-blueberry-cupcakes-recipe.html

Let me just say right now that I love my KitchenAid mixer. Without it, this fibro girl would not have been able to bake these cupcakes.

I liked that the batter ingredients were split into three bowls and then you mixed those contents together. First your butter & eggs, then milk & sugar and lastly the rest of the dry ingredients. My butter wasn’t entirely room temperature and I had trouble mixing it with the eggs. I think I might have even overbeat the eggs which caused for a stiffer batter.

You will also need to add some lemon zest. I needed 3 tablespoons. I bought two large lemons. I grossly underestimated. I might have had a tablespoon and a half, two tops. I added a dash of lemon juice to make up for the lack of lemon zest.

Before you pour the mixed batter into the cupcake liners, spray the cups with a cooking spray like PAM. OMGosh. This is especially important if you don’t want to spend $5 or more for those really good cupcake liners. I bought mine at Kroger. Cheap as possible. After the cupcakes have baked, the liners peel off without making a crumby mess and the cooking spray will help crisp up the outside of the cupcake and make it golden brown just like the cupcake tops. Absolutely brilliant trick. This might make me and cupcakes get along better.

Before you put the cupcakes in the oven to bake, place some blueberries tossed in flour on top of the batter. In theory, the batter will rise above the blueberries and they will sink throughout the cupcake. This was a FAIL for me. The batter never raised above the blueberries and I had to take a butter knife to sink them lower.

Also, the 18-20 minutes cooking time was a FAIL. Our oven stayed preheated/heated at the right temp through the whole process. My only guess is that the recipe was underestimated or more likely, our oven lies. If you have an external oven thermometer that would be best. If you’re like us and don’t bake often enough to justify another piece of clutter in the house, then you might want to be prepared for some extra baking time.

Once the cupcakes are finally baked, pull them out and let them cool on a rack. Don’t be lazy like I often am and just leave them in the pan to cool.

Next it’s time for the icing. Cream cheese icing is the best. Don’t let anyone tell you otherwise.

Seriously, how can anything with two sticks of cream cheese, a stick of butter and 3-4 cups of confectioner sugar be bad? (I know the answer to that but I don’t wanna hear it!

We also needed lemon zest for the icing. I just added a little extra lemon juice.

The KitchenAid made mixing this together so easy. Have I mentioned my love of the KitchenAid?

Finally, icing and decorate your cupcakes.

Despite my earlier caveats, these cupcakes are fanfreakingtastic and I highly recommend this recipe.

If I had been clever there would have been pictures of the process. But I’m not, so here is just the final product. (I do have a picture of Husband decorating with blueberries, but I am fair certain he would kill me if I shared that with you.)

Lemon Blueberry Cupcakes